If you’ve imported phone footage into Resolve on Linux, you’ve likely had a video with no sound.
The culprit is the AAC (Advanced Audio Coding) codec. On Windows and macOS, the OS pays a licensing fee to include AAC decoders. Because Linux is open-source and community-driven, those proprietary codecs aren’t baked into the kernel or the professional version of Resolve in the same way. Resolve on Linux expects professional-grade, uncompressed audio like PCM.
The Workaround: A Custom Bash Script
Rather than manually converting every clip, I lazily had Gemini write a Bash script that “transmuxes” the files. It keeps your high-quality video untouched (no re-encoding) but converts the audio into a 24-bit PCM format that Resolve loves. This keeps the process very fast.
The Script
This script takes a subfolder as a parameter, converts both .mp4 videos and standalone .aac/.m4a audio files, and even includes a --clean flag to wipe your originals once the job is done. The script is looking for audio and video files in the directory the script is run from.
#!/bin/bash

TARGET_DIR=""
CLEAN_MODE=false
VIDEO_EXT=".mp4"
# This will catch both .aac and .m4a files
AUDIO_EXTS=("aac" "m4a")

# Argument Parser
while [[ "$#" -gt 0 ]]; do
    case $1 in
        --clean) CLEAN_MODE=true ;;
        *) TARGET_DIR="$1" ;;
    esac
    shift
done

if [ -z "$TARGET_DIR" ] && [ "$CLEAN_MODE" = false ]; then
    echo "Usage: $0 [--clean] <output_subfolder>"
    exit 1
fi

# 1. Processing Logic
if [ -n "$TARGET_DIR" ]; then
    mkdir -p "$TARGET_DIR"

    # Handle Video Files (.mp4 -> .mov with PCM)
    for f in *"$VIDEO_EXT"; do
        [ -e "$f" ] || continue
        NAME="${f%.*}"
        if [ ! -f "$TARGET_DIR/${NAME}.mov" ]; then
            echo "Transmuxing Video: $f"
            ffmpeg -i "$f" -map 0 -c:v copy -c:a pcm_s24le -f mov "$TARGET_DIR/${NAME}.mov" -loglevel error
        fi
    done

    # Handle Audio Files (.aac and .m4a -> .mp3)
    for ext in "${AUDIO_EXTS[@]}"; do
        for a in *."$ext"; do
            [ -e "$a" ] || continue
            NAME="${a%.*}"
            if [ ! -f "$TARGET_DIR/${NAME}.mp3" ]; then
                echo "Converting Audio ($ext): $a"
                ffmpeg -i "$a" -c:a libmp3lame -q:a 2 "$TARGET_DIR/${NAME}.mp3" -loglevel error
            fi
        done
    done
fi

# 2. Global Cleanup Logic
if [ "$CLEAN_MODE" = true ]; then
    echo "--- Cleaning up originals based on all subdirectories ---"

    # Find .mov (from video) and .mp3 (from audio)
    find . -mindepth 2 -type f \( -name "*.mov" -o -name "*.mp3" \) | while read -r converted_path; do
        BASE_NAME=$(basename "${converted_path%.*}")

        if [[ "$converted_path" == *.mov ]]; then
            # Clean up the mp4
            [ -f "${BASE_NAME}${VIDEO_EXT}" ] && echo "Deleting: ${BASE_NAME}${VIDEO_EXT}" && rm "${BASE_NAME}${VIDEO_EXT}"

        elif [[ "$converted_path" == *.mp3 ]]; then
            # Clean up both possible audio source extensions
            for ext in "${AUDIO_EXTS[@]}"; do
                SOURCE="${BASE_NAME}.${ext}"
                if [ -f "$SOURCE" ]; then
                    echo "Match found: Deleting $SOURCE"
                    rm "$SOURCE"
                fi
            done
        fi
    done
fi

echo "Done! Run './convert --clean' to delete all original files in this folder."
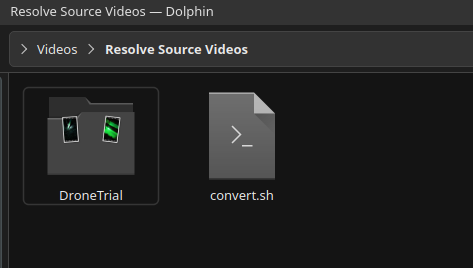
Save this script as ‘convert.sh’ in a folder where you want to work with your source audio and video files and open a terminal window there. I have mine in ~/Videos/Resolve Source Videos/
Run the following to make it executable.
chmod +x convert.sh
When collecting footage for a project, COPY all the clips you need in there, in my recent case, a ‘DroneTrial’ project and execute in a terminal:
./convert.sh YourProjectName
Optionally, you can put on --clean as a parameter which will look through subfolders in the script directory for files that have been converted and remove the originals in the script directory. My phone videos are backed up to a NAS, yours may be in the cloud, so getting them onto your computer to work with may already be a copy operation.
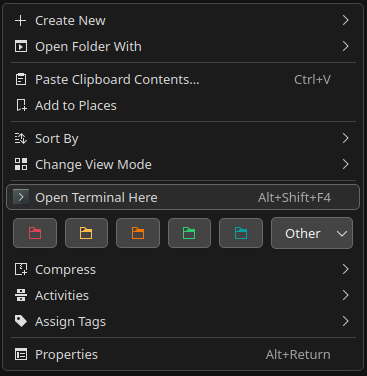
You can open up a terminal from the right-click context window and already be in the directory you need to run the script.
I still dont have audio playback in Davinci Resolve
The way I understand it is ALSA is the kernel level audio driver and only one thing can be using it at a time. Davinci Resolve by default wants to use it but cant because (most likely) PipeWire has the reins. This is good because PipeWire is a very clever underlying audio routing system that shares audio between multiple different applications at once which is how you expect your computer to work.
To fix it, you need the pipewire-alsa compatibility layer
sudo apt install pipewire-alsa pipewire-audio-client-libraries
Restart Davinci Resolve and you should hopefully have audio.